OUR PROCESS
A PCB Wraps project can start with photos, measurements, a vehicle or site, existing brand files, reference images or simply a clear idea of what needs to change. The details get more specific as the job moves toward design, production and installation.
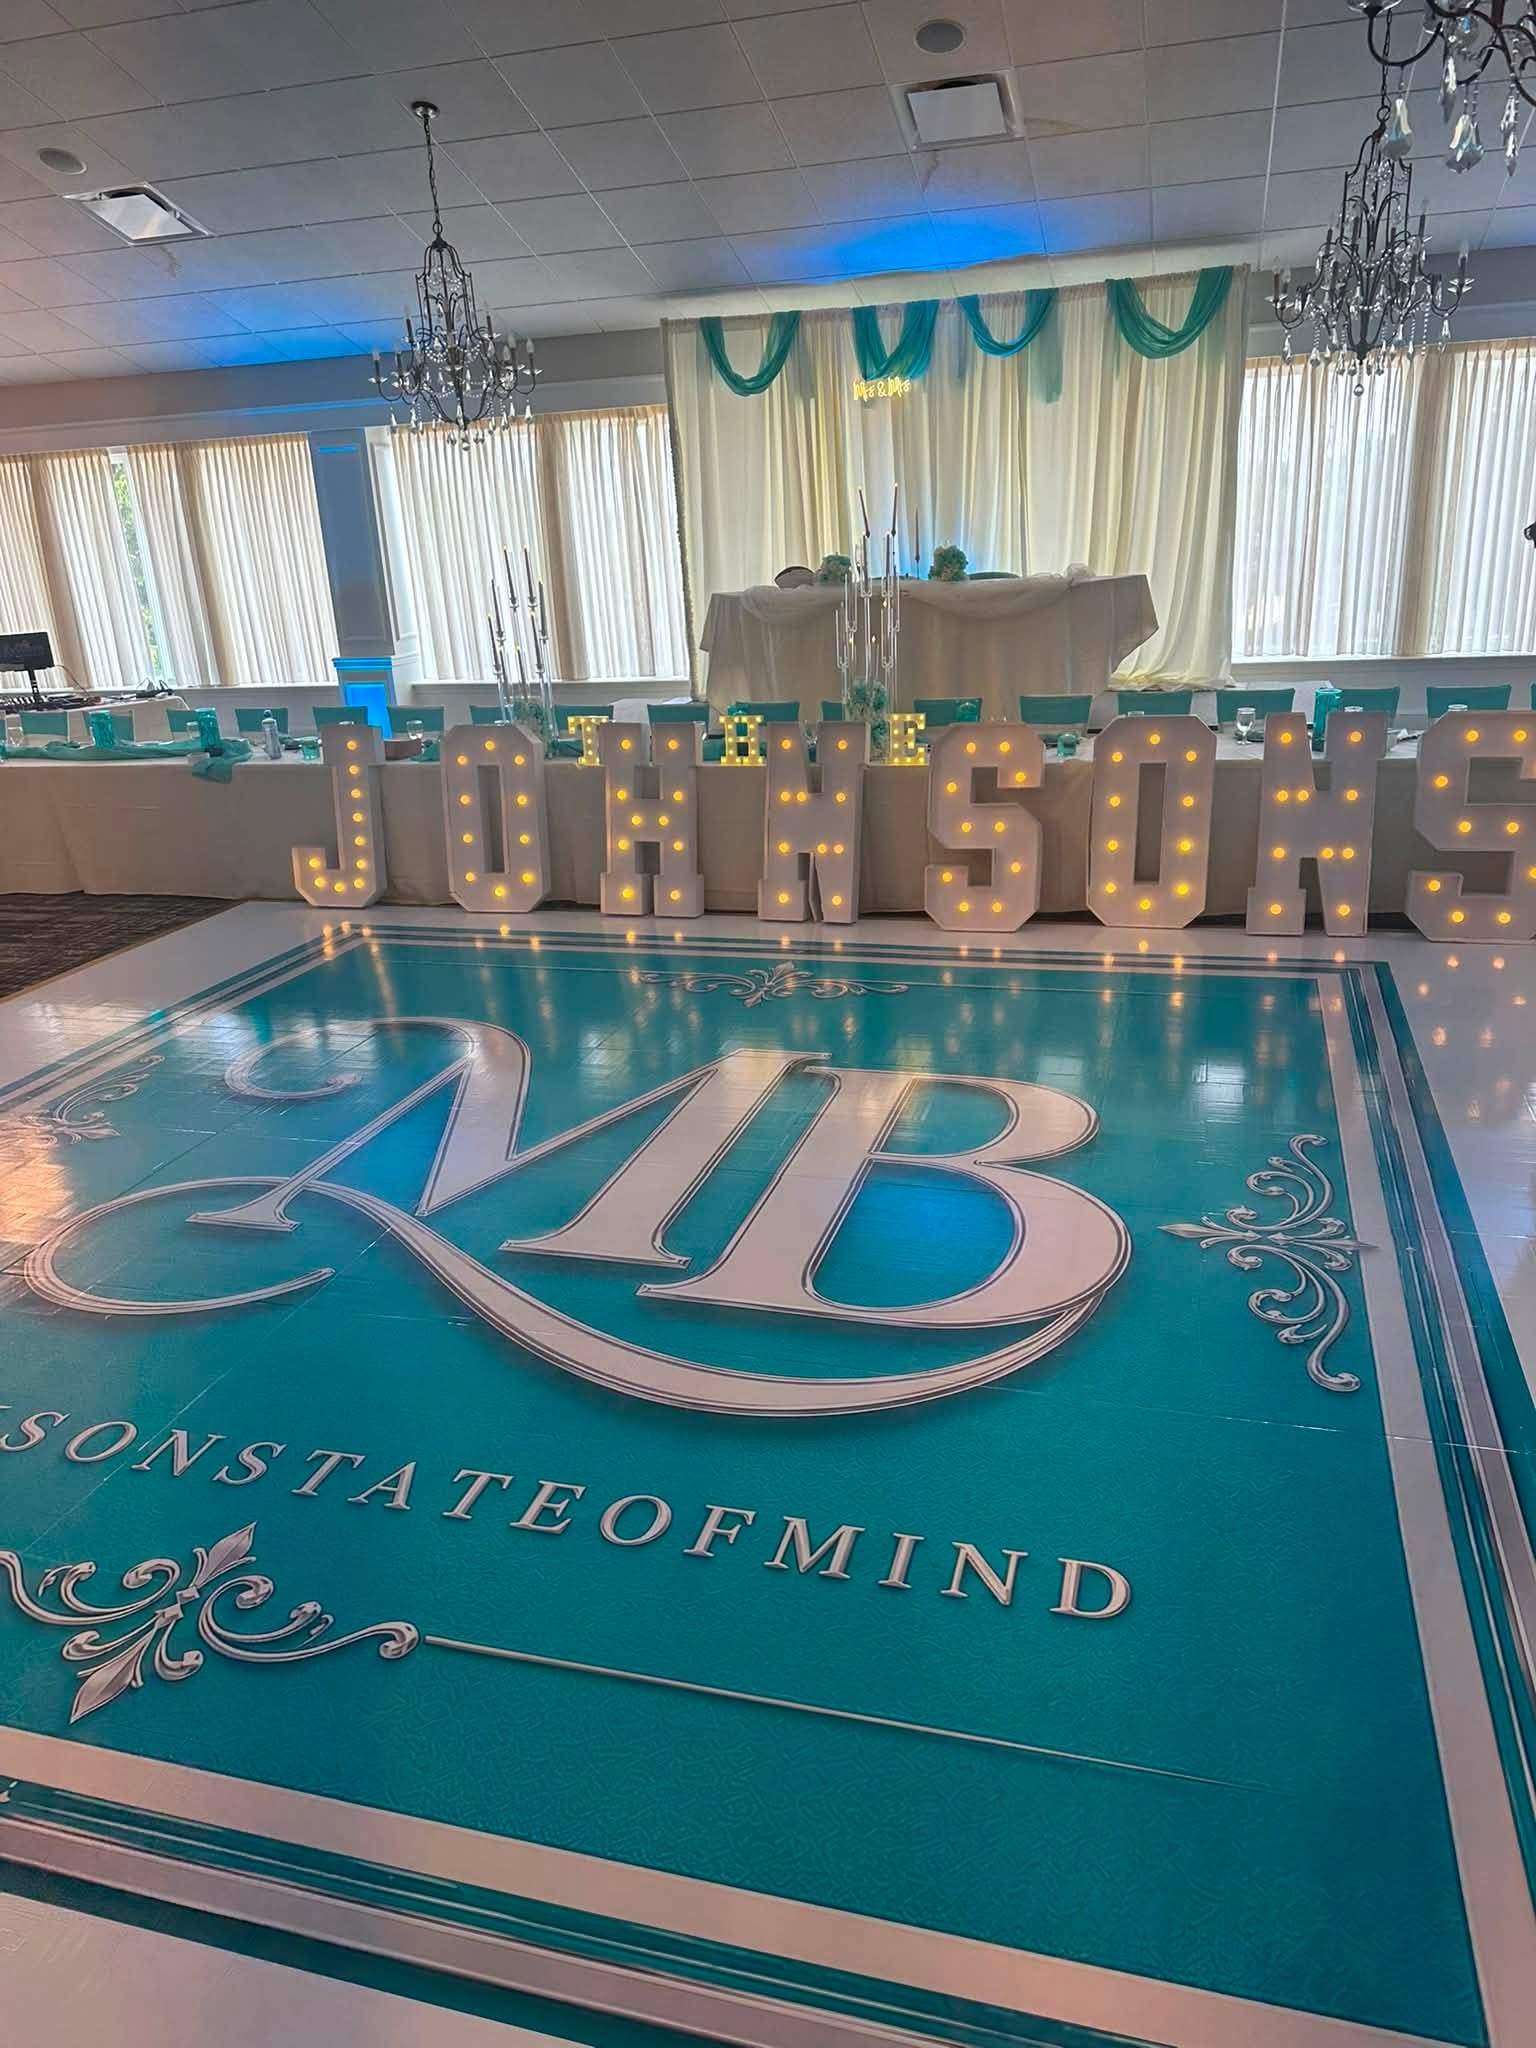
How a project moves through the shop
The exact path depends on the job, but the checkpoints stay similar: define the scope, verify the application, approve the artwork, produce the graphics, prepare the surface, install the work and inspect the finished project.
01
Send the basics: photos, vehicle or site information, approximate dimensions, coverage goals, existing graphics, logos and useful references.
02
We define the scope and pricing around the actual job. Size, coverage, material, design, surface condition, removal, preparation, production and installation can all affect the quote.
03
Before final artwork or production, we verify what matters for fit: measurements, model or configuration, panel geometry, openings, hardware, substrate and surface condition.
04
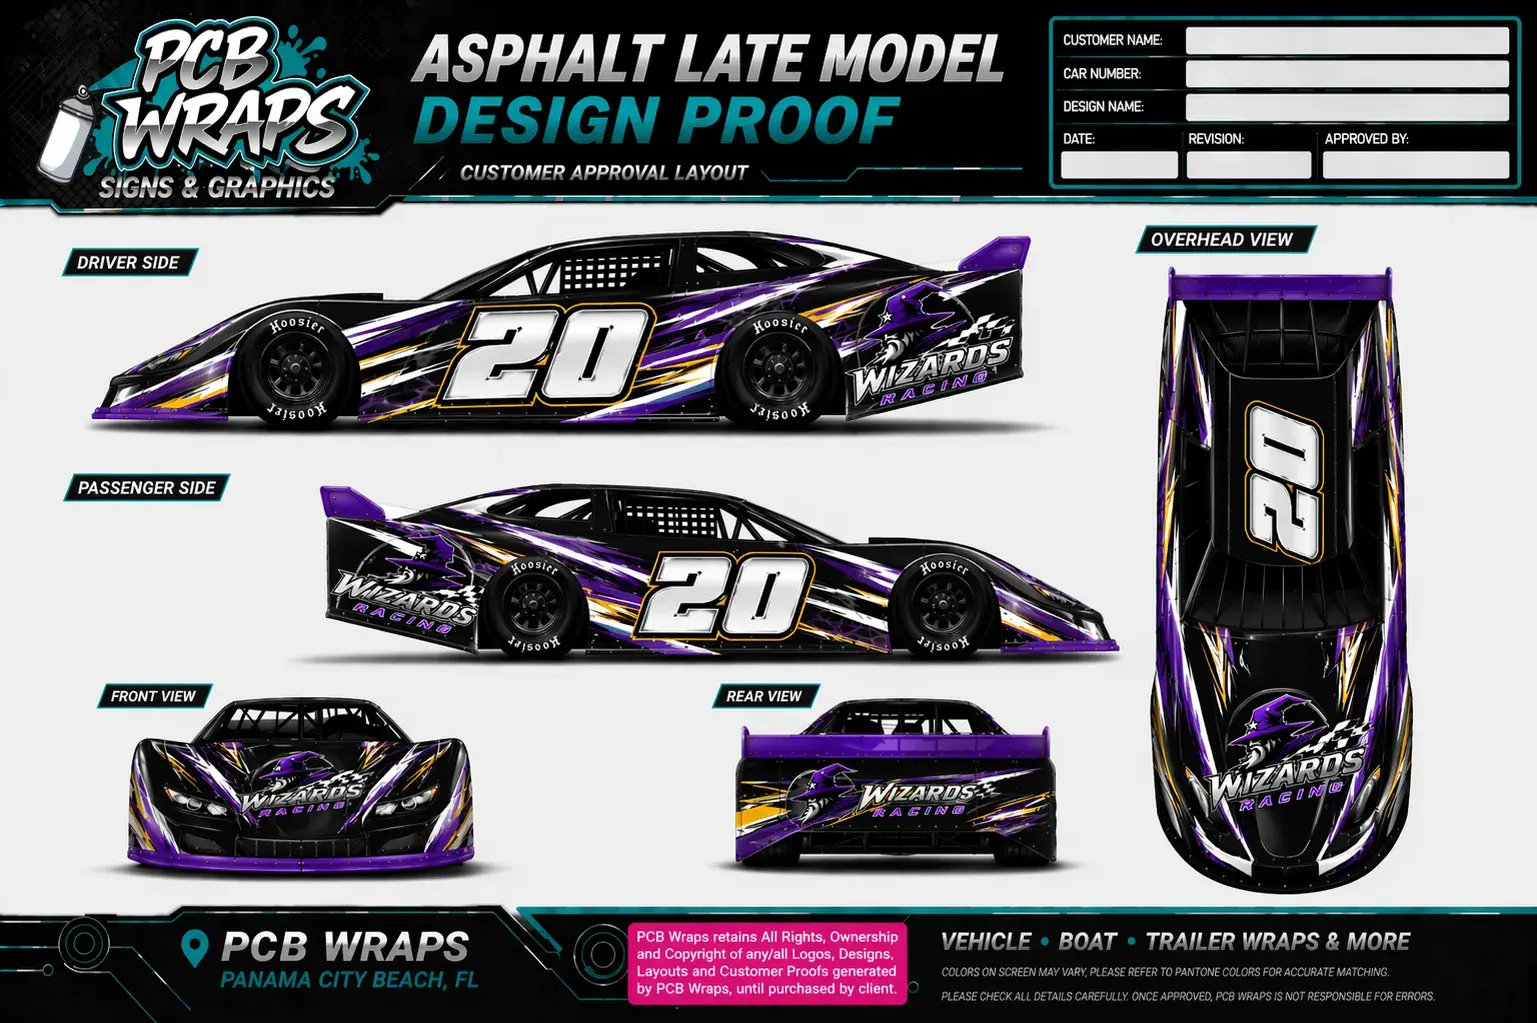
Design is built around the approved scope and the real application. You review the proof and request revisions before final artwork is released to production.
05
Approved work moves through printing, lamination, cutting, weeding, masking, fabrication or finishing as required. The vehicle or surface is then prepared, the graphics are installed, and the completed work is inspected before handoff.
PROOFS ARE FOR APPROVAL. PRODUCTION FILES ARE FOR THE ACTUAL JOB.
A proof communicates layout, hierarchy, color direction and coverage. Final production artwork still has to be prepared at the correct scale and around the actual panels, seams, hardware, openings and installation plan.
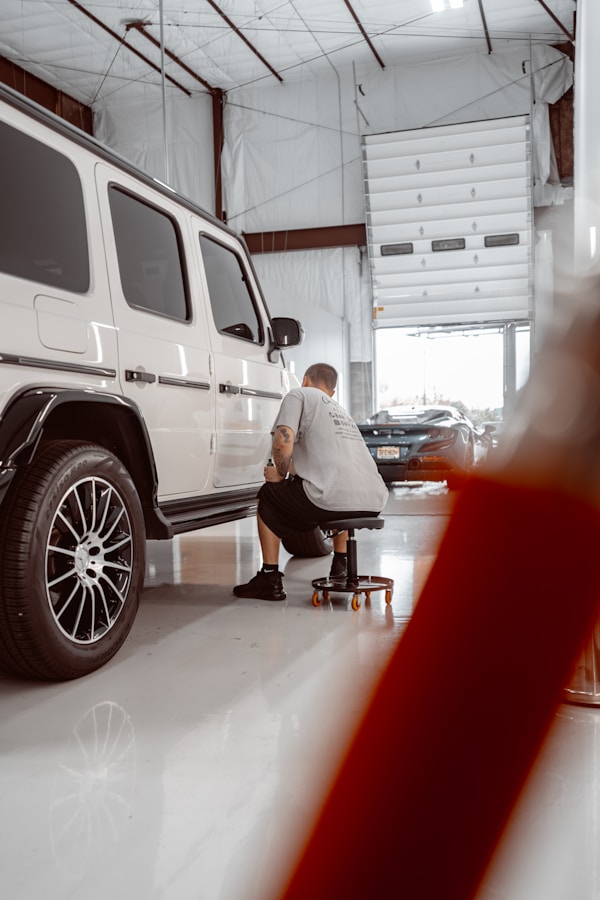
Surface condition matters
Vinyl and other applied graphics depend on the surface underneath them. Existing adhesive, wax, coatings, oxidation, failing paint, repairs, contamination or damage can change preparation, material choice and whether the surface is suitable at all.
Removal of existing graphics
Additional surface preparation
Hardware or component repositioning
Schedules built on the actual project
Scheduling is based on the real project—not a universal turnaround number. Design approval, material availability, production steps, surface condition, installation complexity, vehicle or site access and current shop workload all affect timing.
FAQs
A few process questions that come up before a project reaches design or production.
Send basic project information, photos, vehicle or surface details, existing branding, coverage goals, and anything else useful. You do not need finished artwork or every detail figured out.
No. We can work from logos, brand files, ideas, inspiration, existing graphics, or general direction. Final graphics must be prepared for the actual vehicle, vessel, trailer, sign, or surface.
We review the project and define the scope. Pricing depends on size, coverage, material, design, surface condition, removal, preparation, production, and installation.
Depending on the project, we may need accurate measurements, vehicle information, photos, templates, or a surface inspection before final design or production.
You review a proof and request necessary revisions before approving the design for production. Once final artwork is approved, changes may affect production, cost, or scheduling.
Still have questions?
Contact us and we will give you a straight answer.
Start your
project
Send what you have now. Photos, basic dimensions, vehicle or site information and existing artwork are usually enough to start the conversation.